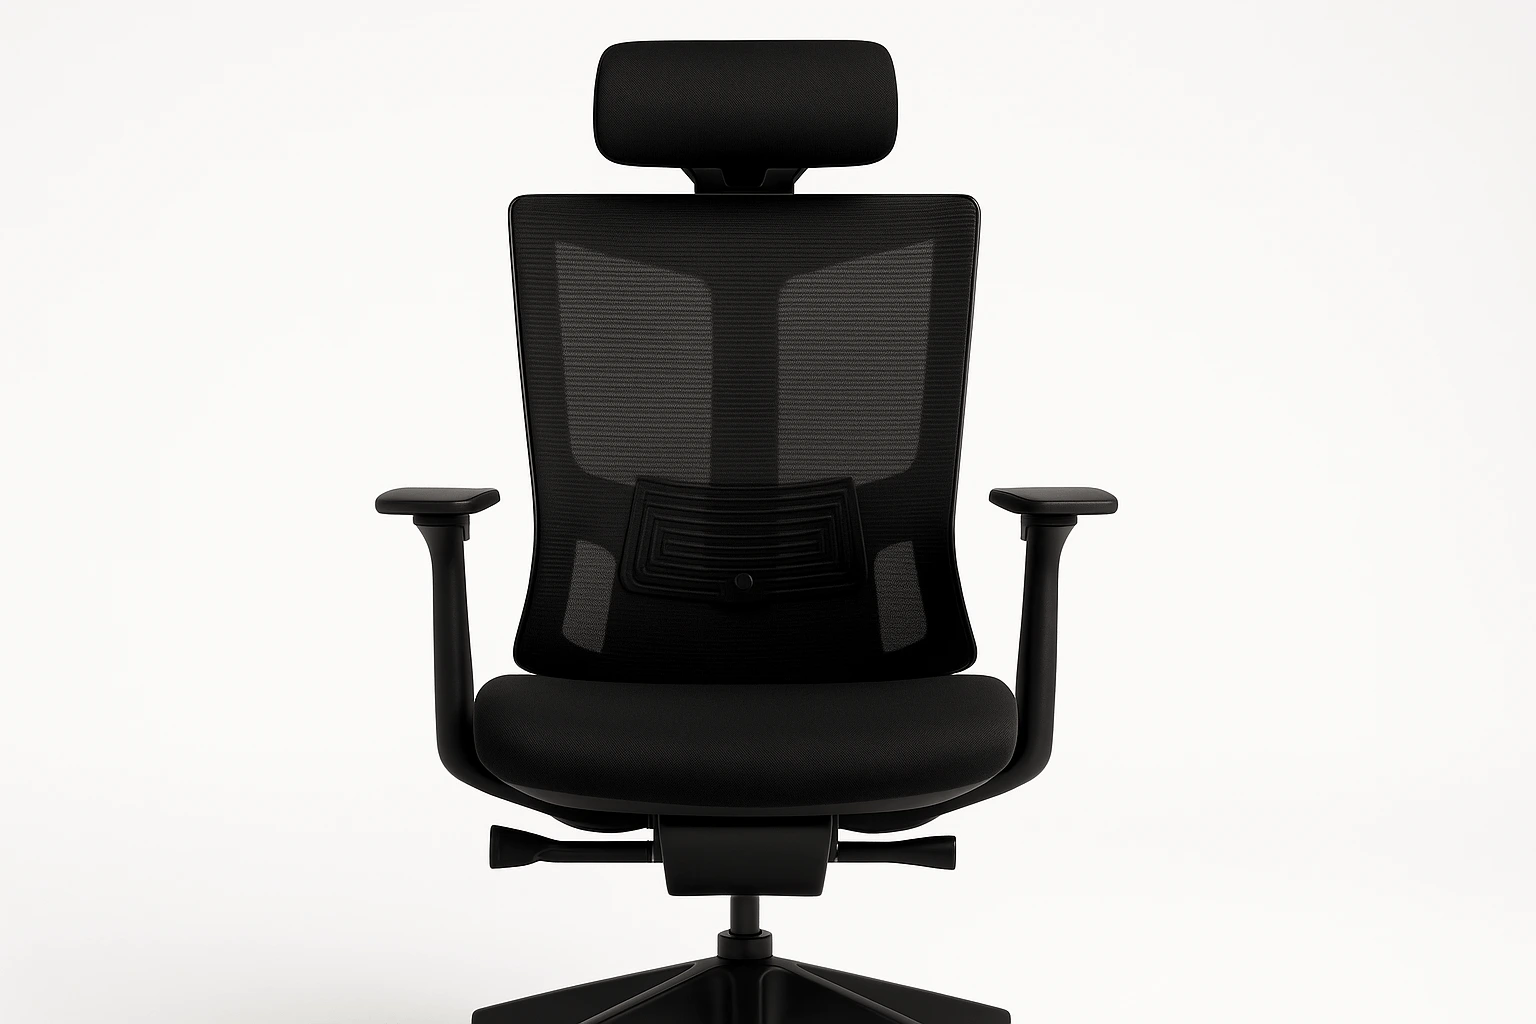
You might own the best ergonomic chair, but if it’s not properly adjusted, you’re missing out on its full benefits. A poorly set-up chair can lead to back pain, decreased focus, and even long-term health issues. In this article, we’ll walk you through how to adjust your office chair to achieve maximum comfort and maintain a healthy posture.
Why Proper Chair Adjustment is Crucial
Even the most expensive office chair won’t help if it’s set incorrectly. Improper adjustment can cause unnecessary strain on your spine, shoulders, and hips.
Good adjustment distributes your weight evenly, maintains the natural S-curve of your spine, and promotes circulation—all key to working comfortably for hours.
Step 1: Adjust Seat Height First
Start with the seat height. Stand in front of your chair and adjust it so the highest point of the seat is just below your kneecap.
When sitting, your feet should be flat on the floor, and your knees should form a 90-degree angle. This helps prevent pressure on your thighs and improves circulation.
Step 2: Fine-Tune the Seat Depth
Seat depth impacts your lower back support. While seated, there should be 2-3 inches of space between the back of your knees and the chair edge.
If the seat is too deep, it can cut off circulation; if too shallow, it won’t provide enough thigh support.
Step 3: Adjust the Lumbar Support
The lumbar support should fit snugly against the curve of your lower back. If your chair has adjustable lumbar height or depth, experiment until you feel steady support without pressure points.
Chairs like the Herman Miller Aeron and Steelcase Leap offer highly customizable lumbar settings.
Step 4: Set the Armrests Correctly
Armrests should support your elbows without lifting your shoulders or causing you to hunch.
Adjust the armrest height so your forearms are parallel to the floor when typing. Some chairs also allow width adjustments—ideal for keeping your arms close to your body.
Step 5: Tilt and Recline Settings
Adjust the recline angle and tilt tension to allow natural movement throughout the day.
A slightly reclined position (100-110 degrees) can reduce spinal pressure and improve comfort. Dynamic recline systems, like those in the Autonomous ErgoChair Pro, automatically adapt as you shift.
Step 6: Monitor and Keyboard Placement
Although not part of the chair itself, positioning your monitor and keyboard matters. The top of your monitor should be at or just below eye level, about an arm’s length away.
Your keyboard and mouse should allow your elbows to stay close to your body, preventing overreaching.
Common Mistakes to Avoid
– Feet dangling or tucked under the chair.
– Armrests too high or too low.
– Ignoring lumbar support settings.
– Slouching despite proper setup.
Correct these errors to make the most of your ergonomic investment.
Adjusting your office chair correctly can transform your daily work experience. It helps prevent pain, boosts energy, and maintains long-term health.
Don’t settle for “good enough.” Take the time to fine-tune your seat height, lumbar support, armrests, and recline angle today. Your body will thank you.
FAQs:
Q: How often should I adjust my office chair? A: Re-assess your settings every few weeks or if you notice discomfort.
Q: What if my chair doesn’t have adjustable lumbar support? A: Consider using a separate lumbar cushion to maintain lower back support.
Q: Can poor chair adjustment really cause health issues? A: Yes. Poor seating can contribute to chronic back pain, circulation problems, and repetitive strain injuries.
Have your own adjustment tricks? Share them with us in the comments below!


